Making life easier in Gothic 1 Remake: walkthrough tips, secrets, best weapons and armor
Rules of a wild, criminal, and buggy world
Only cats are born quickly. Gothic 1 Remake will take tens of hours to complete. And this is not mindless wandering through modern open worlds – you need to be clever and patient.
Not only is it easy to die in the game, but it also throws surprises in the form of lags and bugs – save at every opportunity and press F5 as often as possible. After all, experience doesn't grow on trees.
Excluding paying guards for protection, you should easily part with valuables. It's not a pity to spend on reputation, and everything else can be bought, stolen, or taken from the former owner. And don't hesitate to collect everything in your path: every arrow or forest berry can come in handy.
Memorizing the location and assortment of each merchant to sell unnecessary items at the best price is an important skill you should acquire.
Communicate with named characters at every opportunity to get new quests and avoid accidentally failing existing ones.
For role-playing purposes, it's worth sparing Raven, Thorus, and Scar. Raven will appear in the Gothic II expansion, Thorus will continue to guard the gates, and we played as Scar in "Chronicles of Myrtana: Archolos."
Skill usefulness – what to level up first
Most useful
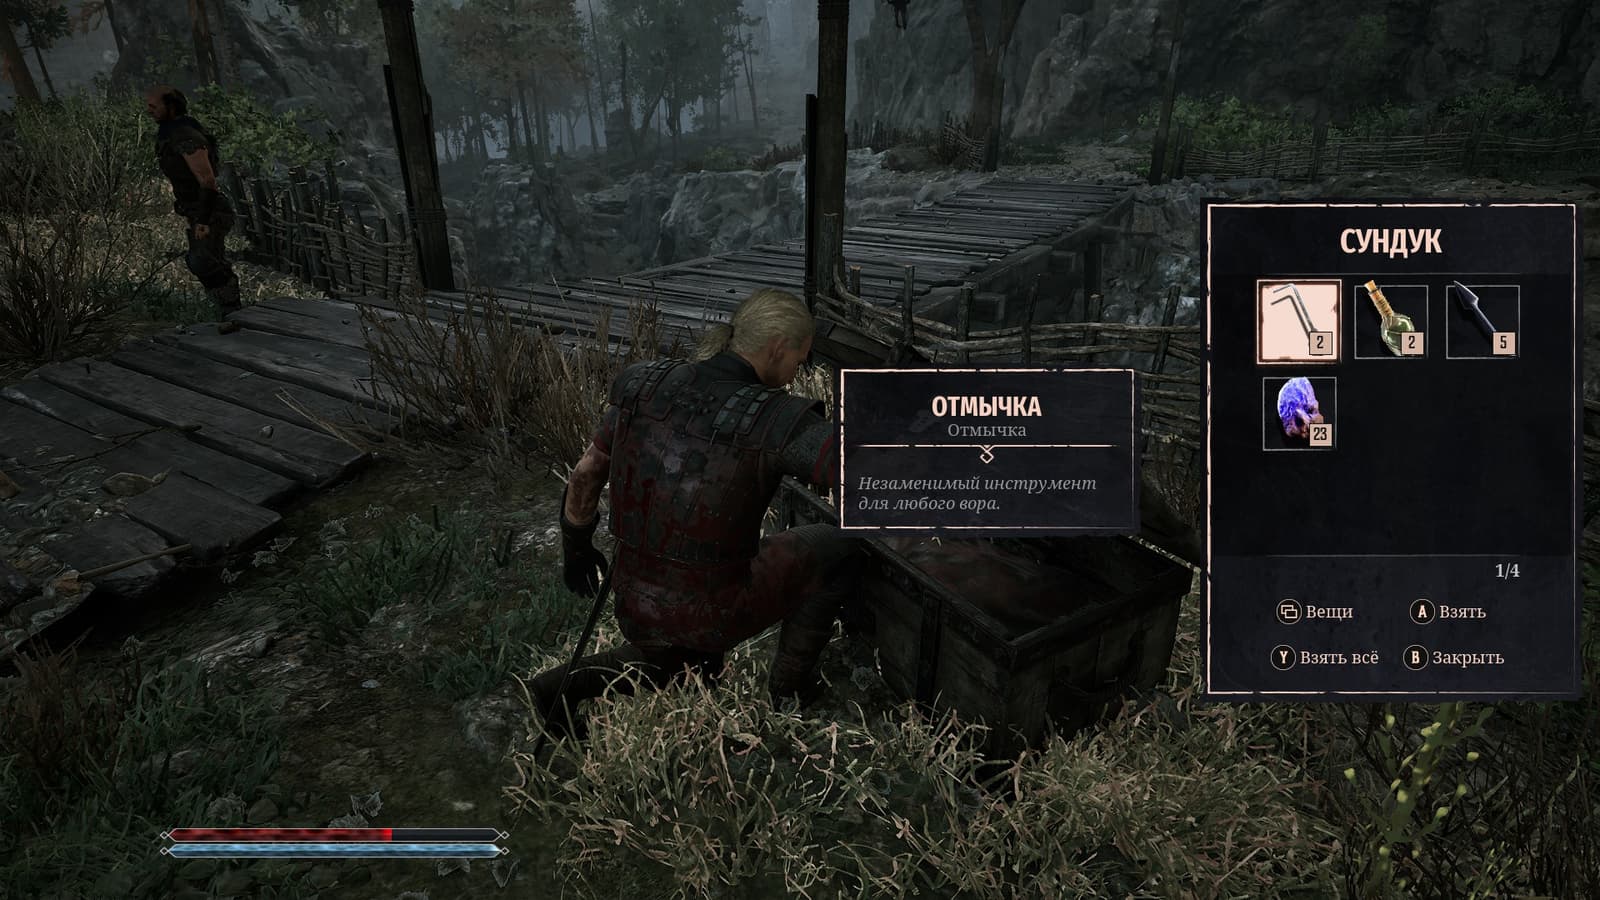
Lockpicking involves solving small puzzles. It will take several hours to get used to this mechanic, but after that, locks will be picked like seeds. The reward for your efforts is the contents of chests, which are generously scattered throughout the Colony. The "Lockpicking" skill, maxed out, makes the process easier and helps save lockpicks.
Very useful
One-handed and two-handed weapon proficiency will increase weapon swing speed, add critical damage, and allow parrying attacks from both humans and animals. It will also provide the Nameless Hero with beautiful animations. Take it without hesitation!
Bow proficiency will make life easier in the first half of the game, and crossbows – in the second. These skills are suitable for those who like and know how to use the environment to their advantage, take high ground, and keep enemies at a distance.
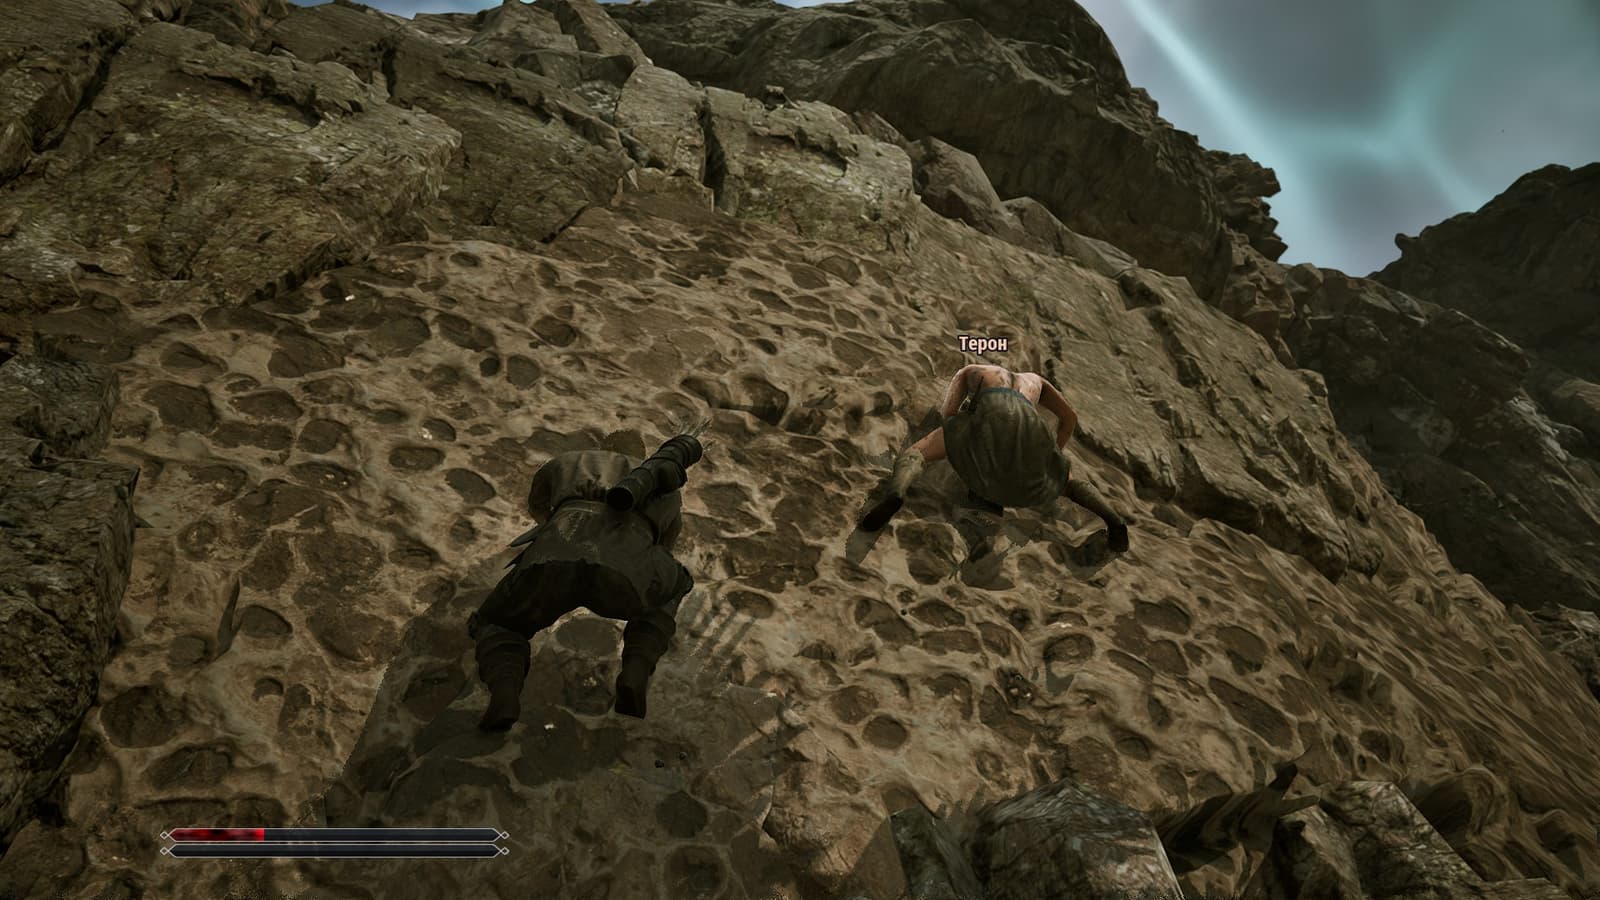
Wall climbing will open up several additional ways to complete quests, as well as access to certain locations. You'll also be able to collect good items that are otherwise inaccessible. In the Swamp Camp, look for Theron – he's sitting on the beach to the right of the temple square where the cultists pray. Go through the breach in the stone wall and continue until you reach the end, you won't miss him.
Desirable, but not mandatory
Alchemy – because health and mana potions are never superfluous, and there are plenty of resources to create them. By the end of the game, it will allow you to turn golem parts into stat-boosting potions, which, you must admit, sounds cool!
Hunting skills will allow you to obtain animal parts: teeth, skins, backs, and so on. They are needed for crafting scrolls, some quests, and for selling – mages in the Old and New Camps eagerly buy them.
Scroll creation will come in handy if you want to feel like a mage but don't want to master the circles of magic. Scrolls can be used even by a warrior, the main thing is to make sure there is enough mana to create the spell.
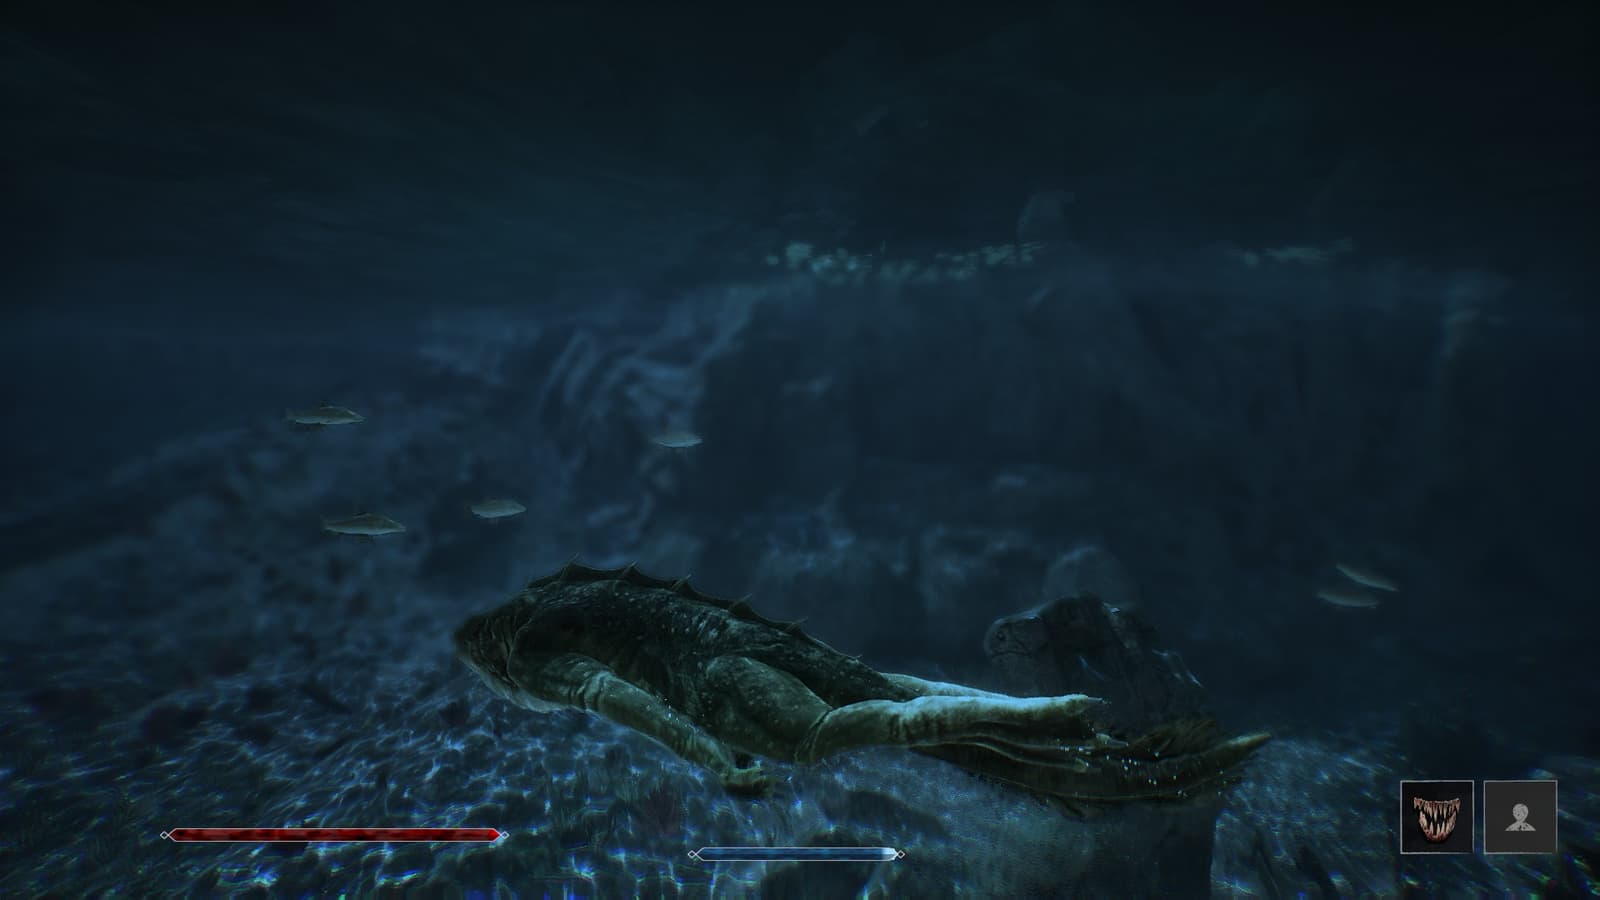
Diving and holding breath underwater will make life easier when searching for items and costs only 5 skill points. However, creating a "Transformation" scroll into an underwater creature, like a lurker, will allow you to stay underwater as long as you wish. But you won't be able to open chests in that form.
Only for role-playing
Blacksmithing – a long, tedious, and poorly profitable process of creating weapons. There are plenty of resources for blacksmithing, but it's only profitable to invest them in high-level swords, whose recipes will unlock closer to the end of the game. A quest chain is also associated with this skill.
Acrobatics will help you fall less painfully and will also unlock the ability to roll in combat. It seems useful, but you can easily do without it – if you learn to parry!
Fist fighting – if you want to beat a stone golem with your bare hands after leveling up "Strength" above 100.
Circles of magic
A wasteful expenditure of skill points, unless you decide to play as a pure mage. Runes of higher circles will accumulate as dead weight in your inventory until the late stages of the game, but even after reaching the sixth circle, melee weapons will prove much better in the final segments.
As an experiment, I exchanged the best sword "Uriziel" for a powerful magic rune from Xardas. I still regret my action.
Secrets, tips, and tricks
Arrival in the Colony
At the beginning, the Nameless Hero will literally and figuratively find himself in a swamp – near the lake of the Exchange Zone. There's no better time to learn the mechanics, so refuse Diego's escort and go explore the first location.
After the game starts, behind the Nameless Hero is the Exchange Zone itself – an excellent place to practice stealth, thievery, and lockpicking. Just don't get caught by the couple of workers carrying sacks.
To the left of the abandoned mine, it will be convenient to learn to climb heights – at the same time, you'll see scavengers and goblins, who will definitely try to eat you. Or give you precious experience points.
If you stick to the right side, closer to the descent from the Exchange Zone, you can find Drax's knife. At the exit of the training area are two hunters. These guys will teach you hunting and escort you to the New Camp if you wish. But for now, give Drax his knife and receive a bow as a reward.
Working for three sides
The Nameless Hero faces a task: join one of the three main camps. To do this, you need to complete all related entry quests. And I advise doing this for all camps at once to get maximum experience and skill points accordingly.
It is advisable to do everything before the final choice and transition to the second chapter – otherwise, some quests may bug out. This happened to me with the quest "New Flock for the Brotherhood" – the miner Dusty never wanted to go with me to the Swamp Camp.
In the Old Camp, the tasks are simple and clear: talk, find, steal – solve problems as they arise, in short. The main thing is not to forget to beg Thorus for the task of dealing with Mordrag: the first few times you choose this dialogue, he will specifically refuse.
There will also be a hitch with a fighter from the New Camp who will refuse to fight the Nameless Hero in the arena. You need to anger him and say that he came "to kiss Gomez's ass" – then he will challenge us to a fight, quickly beat us up, and the Nameless Hero will get the "respect" of the arena keeper Scatty.
Of all the camps, it's best to join the Old Camp. Then you can immediately loot the rooms of Gomez and his henchmen to get valuable items with stat-boosting potions. Then you can join the Fire Mages to rob them too.
After that, the game will even allow you to switch to the New Camp in the fourth chapter – you'll get two achievements for joining camps in one playthrough.
Finding "Bestiaries" for Cavalorn
A series of quests is associated with the "Bestiary" books, the completion of which generously rewards experience and free hunting skills.
Before reaching the New Camp – you can ask Mordrag to take you there, and at the same time complete Thorus's quest – you need to turn towards the fishing huts. In the hut of a big guy named Gian, you can find "Bestiary. Volume 1" – one of the books in the series that will be useful in the future for a hunter named Cavalorn.
By the way, Gian can teach you fist fighting if you complete his quest.
Among the bandits in the New Camp by the campfire, look for Wolf to buy a memo about hornets – he will teach you how to collect stingers from these creatures. By the way, don't forget to visit Wolf's house located at the very top, next to which two guards usually stand and talk – the next "Bestiary. Volume 2" is there.
Return to the southern exit of the Old Camp. If you go up from there, towards the Swamp Camp, you will see a cave on the right side. To the right, you can find a stat-boosting potion on an altar and ledges leading into the mountains. Climb the ledges, then climb the wall. Eventually, you will reach a path, along which you will stumble upon the artist's cave. Go past the cave further down the road, descend the ledges, and you will find yourself in another cave – inside there will be two chests. One of them contains another "Bestiary. Volume 3".
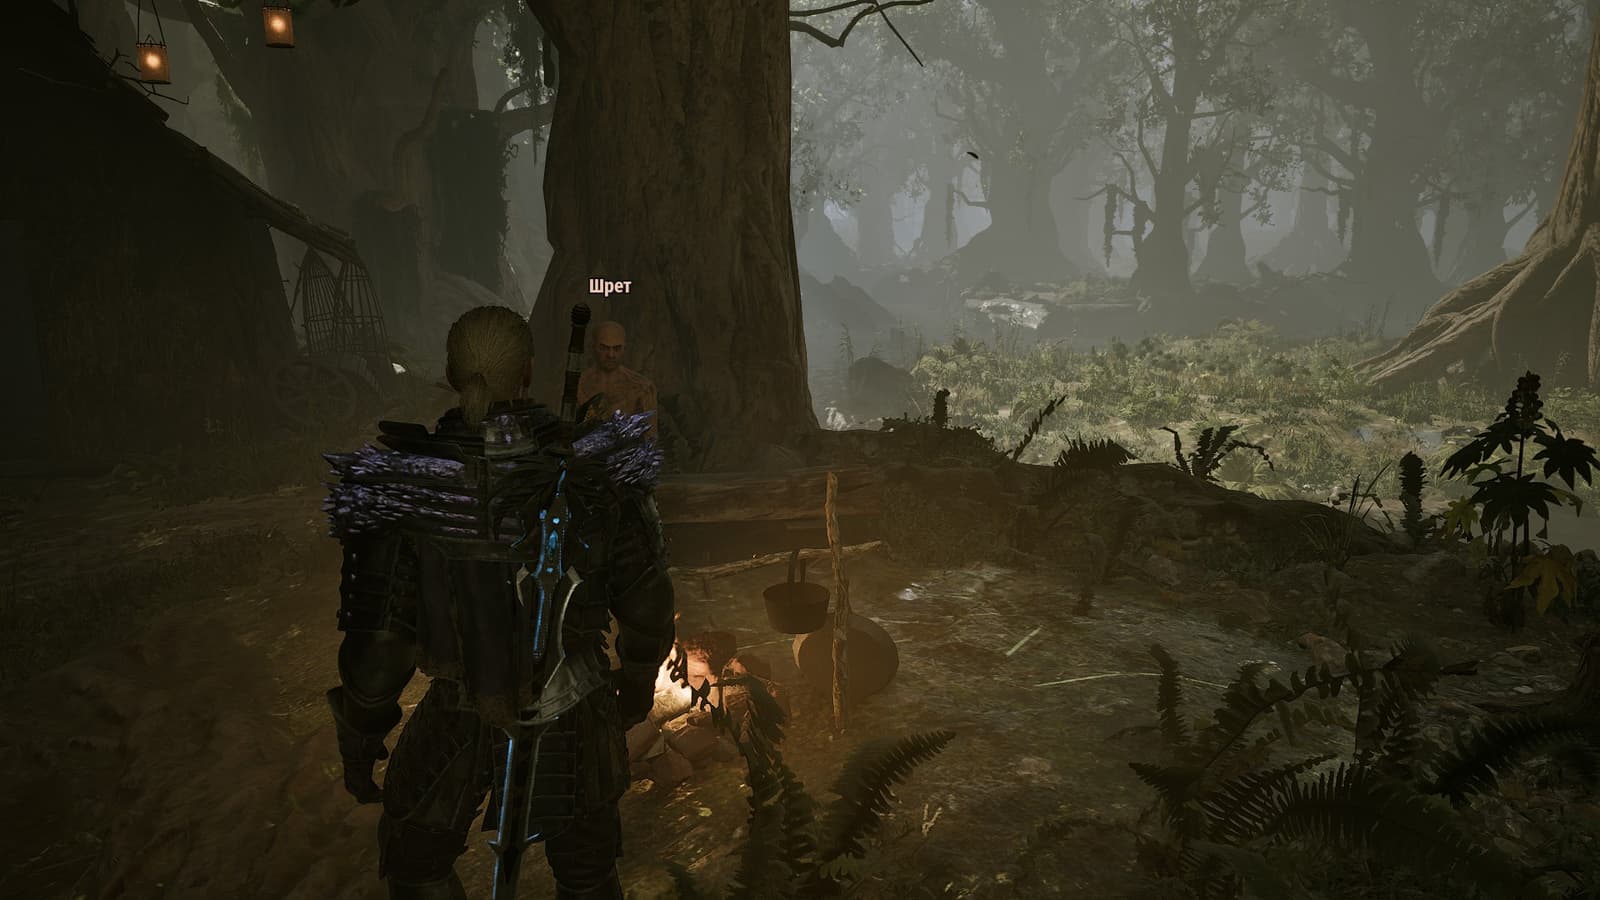
In the southwestern part of the swamps is the hut of the novice Shret. Keep the mountains to the left of the Nameless Hero, and sooner or later you will stumble upon it. Or, go to the swamp weed collector's house in the south, then go right until you see a rise with a house. Inside the building lies another "Bestiary. Volume 4".
The last "Bestiary. Volume 5" is in Xardas's tower, on the round table next to the mage, but you will get there as part of the story.
Go to Cavalorn's camp, to whom you need to give all the collected "Bestiaries" – the hunter is located west of the Old Camp. You must have passed his house if you went with Mordrag to the New Camp along the path. Give him the books, complete the associated quests, and receive unique animal hunting skills, as well as a related achievement.
Opposite Cavalorn is Kosel's camp. You need to beg him for a rideable scavenger and complete the associated quest. The summoned bird will speed up your movements across the map and, most importantly, it cannot be accidentally killed in battle or lost.
Free 5 strength points
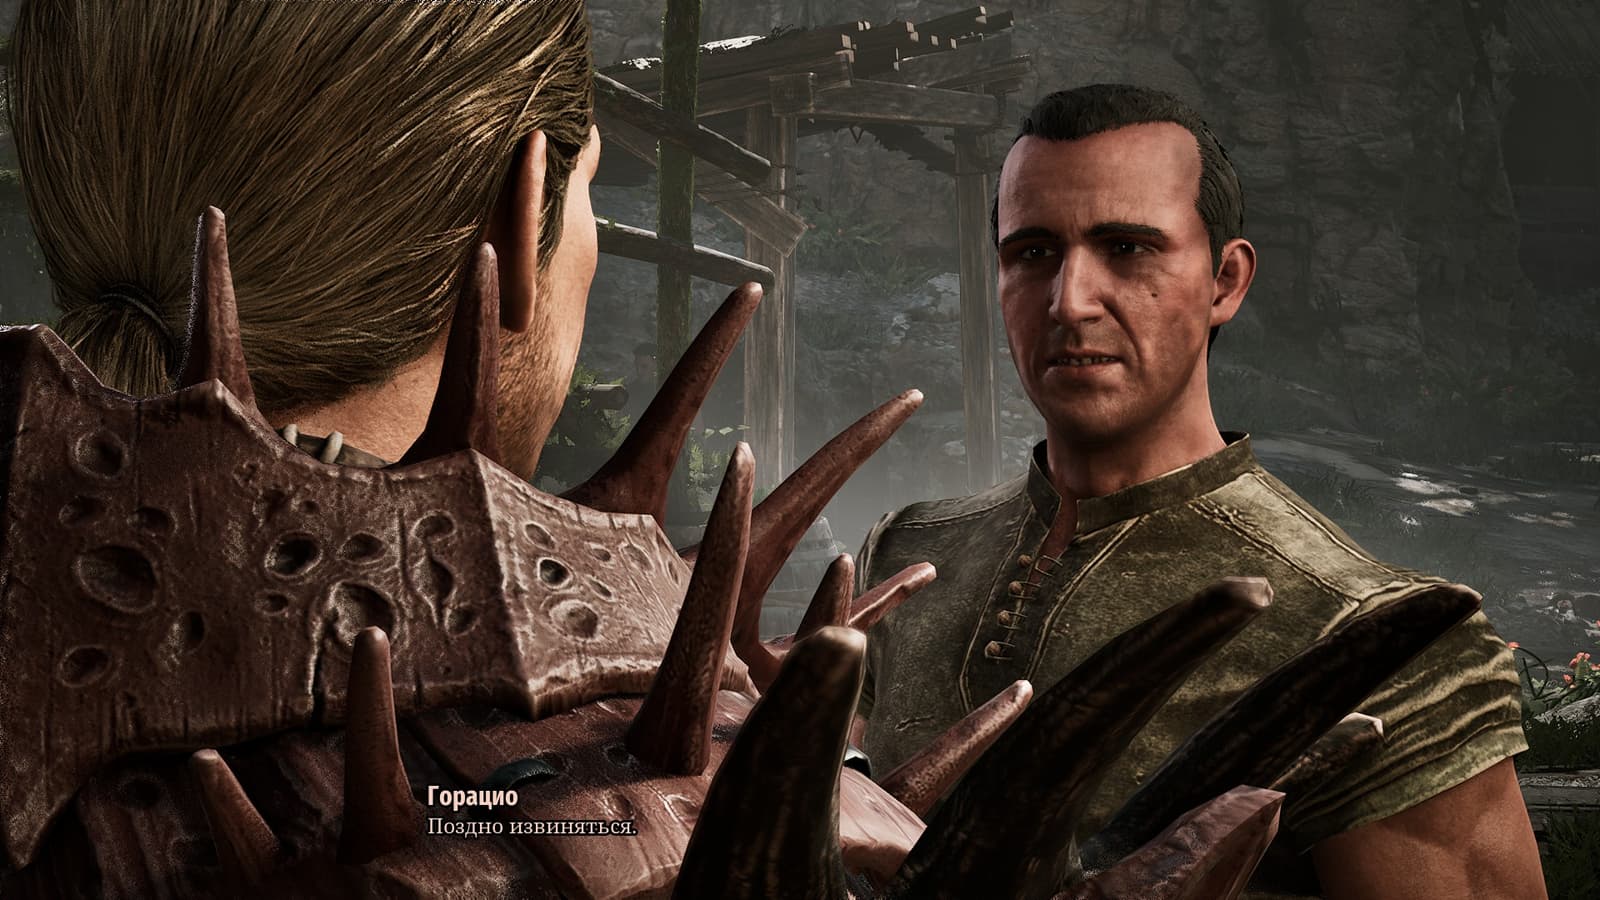
Inside the New Camp, you'll have to try hard to get along with Horatio – the quest will fail if you talk to him disrespectfully. You'll need to get to the Free Mine (run left from the tavern, to the training dummies, then up the road into the mountains), where the Nameless Hero will be given scraper clothes for free.
With these clothes, you'll be allowed into the tavern, where the peasant Jeremiah will tell you how to approach Horatio. All that remains is to politely ask Horatio to make the hero stronger and receive 5 free strength points.
Ruined tower near Cavalorn's house
To the right of the gates to the orc lands is a ruined tower. You can enter it in four different ways – by lockpicking the door, taking the key from bandits to the left of the tower, climbing the wall from the left side, or transforming into a meat bug and passing through a crack in the right wall of the tower.
The main thing is to get the strength potion, which is in a chest at the top.
Here's a video showing the sequence in which to open the tower doors:
Where to get a cool sword and bow early in the game
To the right of Gomez's residence in the castle is the wine cellar. Go down the stairs, crouch, and start exploring the basement.
To the right of the entrance to the cellar, near the body of a ghost riddled with arrows, lies an excellent "Aspen Bow" with 44 damage!
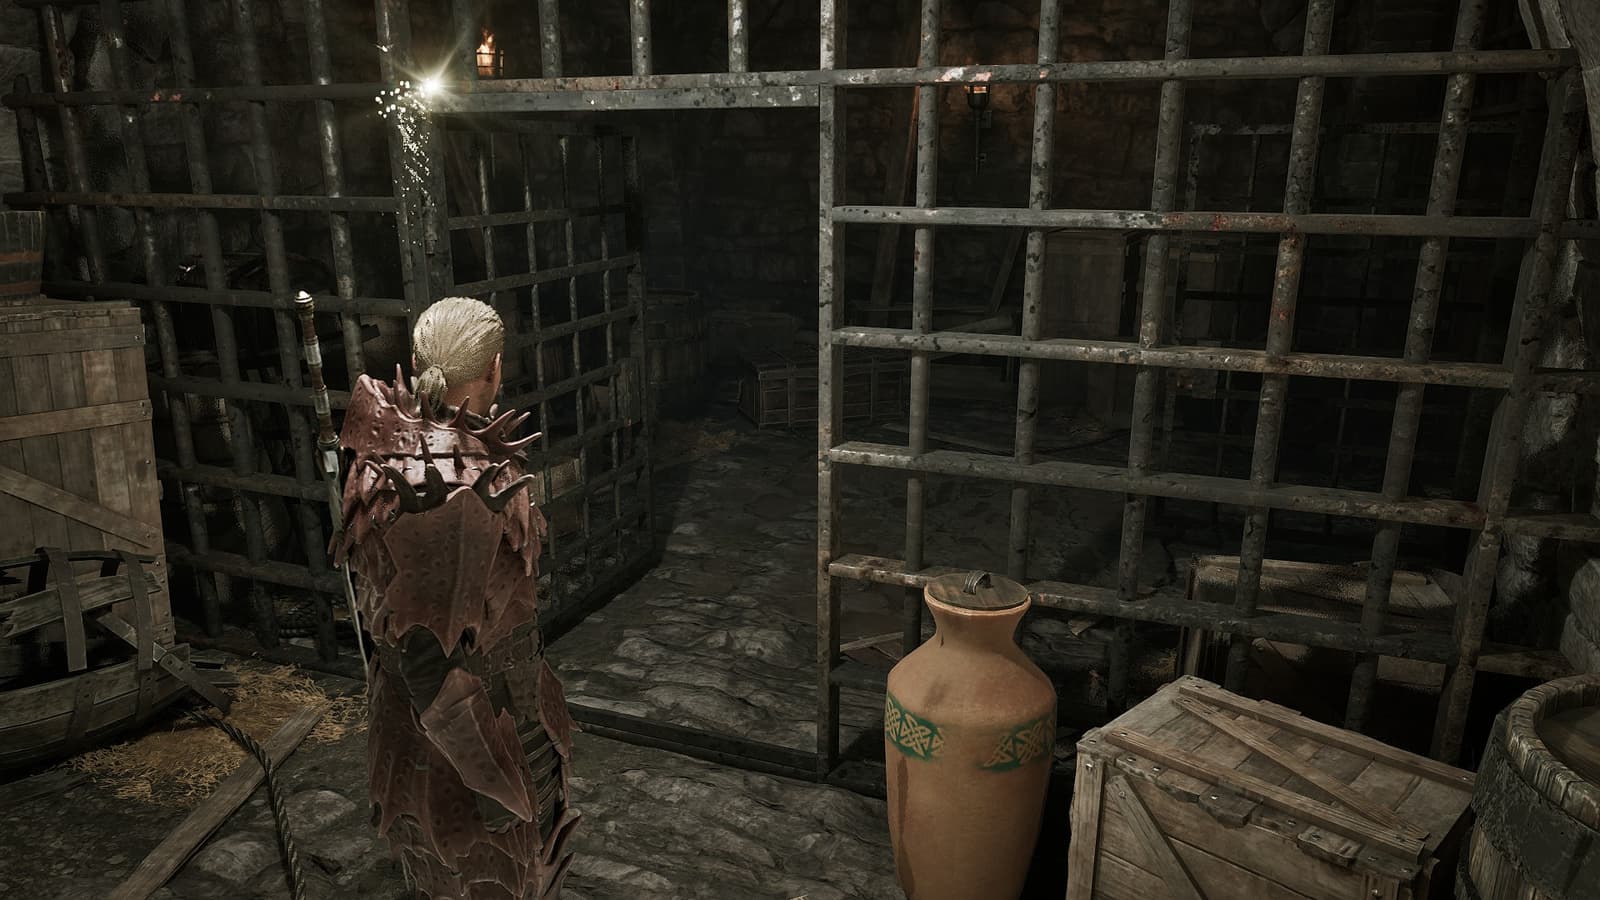
If you go left, you will run into barred gates. Open the doors by lockpicking, go inside, and look around carefully. Near the barrel lies a cool sword "Fear Sower" with 42 damage!
Lockpicking the next ones will open a passage to the torture chamber and prison, where you will need to lead out prisoners in a quest in later chapters. You won't be able to get the women and the musical group out of prison – we checked.
How to start the "Escape Plan" quest chain
In the Old Camp, take the quest for Sira's stew recipe from the cook Snaf – near the house where the mad convict Mud sits. This will start the "Escape Plan" quest chain, stretched over several chapters, if you start helping Sira at her request.
Essentially, the quest only starts in the third chapter, when you gain access to Y'Berion's quarters in the Swamp Camp. There you will have to talk to the women Natalia and Chani at Sira's request, and then return to the cook in the Old Camp.
After this, she will ask you to talk to Gomez's women, who can be found in the throne room, swirling around him, and then return to Sira again. After this point, the quest "freezes" until the fourth chapter.
After the events of the fourth chapter begin, you will need to visit Sira in the kitchen to continue the quest. We won't spoil anything further – you will see the outcome yourself. And yes, unfortunately, there is only one outcome, and the quest cannot be completed differently.
Cave with zombies near the first unit
When you were learning to climb walls near the Swamp Camp, you probably heard some strange wheezing overhead when you climbed to the top with the cultist Theron. That's because there was a cave with zombies right above you.
Near the place where the Nameless Hero and Niras obtain the first unit according to the story, you can spot a descent. Beyond it, on the right side, there is a wall climb. This path leads to a cave with two zombies guarding a valuable chest.

Secret passage to the Old Camp
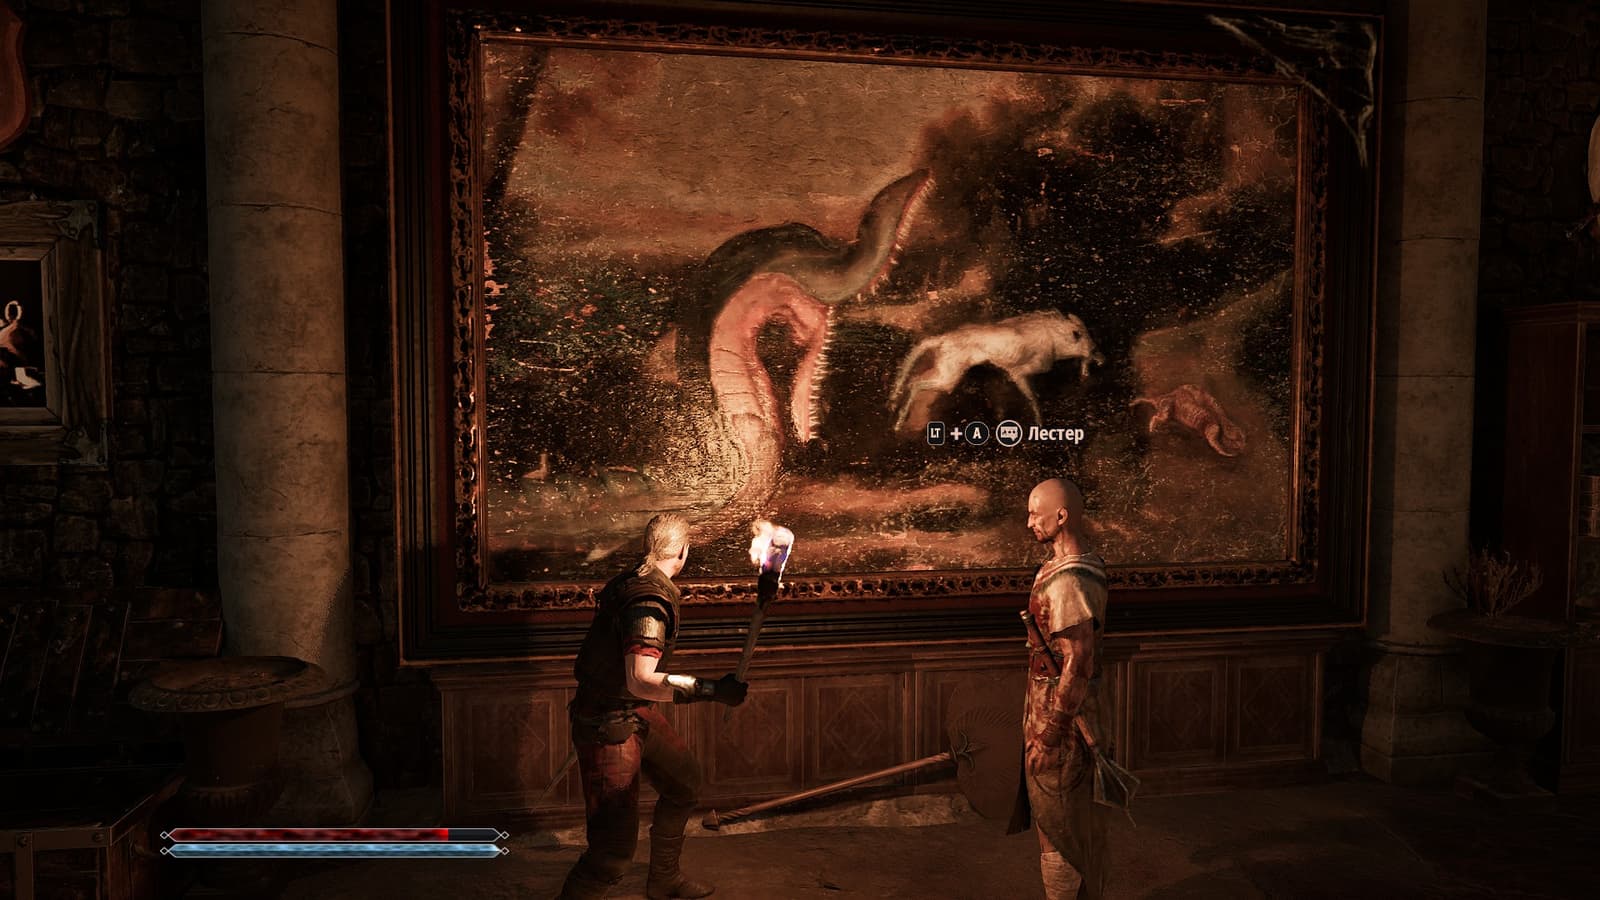
During the collection of units according to the story, you will need to inspect the old fort of the ore baron, which Lester helps to explore.
In a conversation with Lester, who will find the bill of sale for the baron's land, you need to agree to take the documents for ownership of the castle. You can profitably sell the find to Santino, a buyer of rare items. After the old mine was flooded, he moved to the Old Camp and lives above the merchant Fisk – the ascent to him begins before the market square.
In dialogue with him, the Nameless Hero will offer three different prices. Choose the highest one to get 1000 ore, and also agree to Santino's special offer – and then the buyer will open a secret passage to the wine cellar in his house.
Through it, in the fourth chapter, you can get to the cook Sira or free prisoners from jail.
Chromanin. Where to find all six books
After collecting all the units according to the story, the Nameless Hero will become strong enough to explore the lighthouse, near which he talked with his friends: Diego, Lester, Milten, and Gorn.
You need to go inside the lighthouse, descend into the basement, and go through a large network of caves with skeletons. At the end, a skeleton mage with his henchmen awaits you. Take "Chromanin" from the dead man: a volume from a series of mysterious books. Their peculiarity is that to make the next volume appear, you need to find and read the previous one. They also contain hints on where to look for the necessary volumes.
In short, the books appear in the following places:
- We already found the first one – under the lighthouse, in the room with the skeleton mage.
- Near the New Camp, in the fishing hut opposite the fighter Gian. You need to swim to the opposite bank and enter the house on the right – the second volume will be there.
- The third volume is in the ore baron's castle, an abandoned fort. The book will appear a little further than where Lester offered to take the property documents: after solving the puzzle, go up the stairs, jump from the attic into the room, and behind you will be a door. Go in there, the third volume is inside.
- To get the fourth volume, return to Gomez's wine cellar. You need to reach the torture chamber, inside which the fourth "Chromanin" will be on the table.
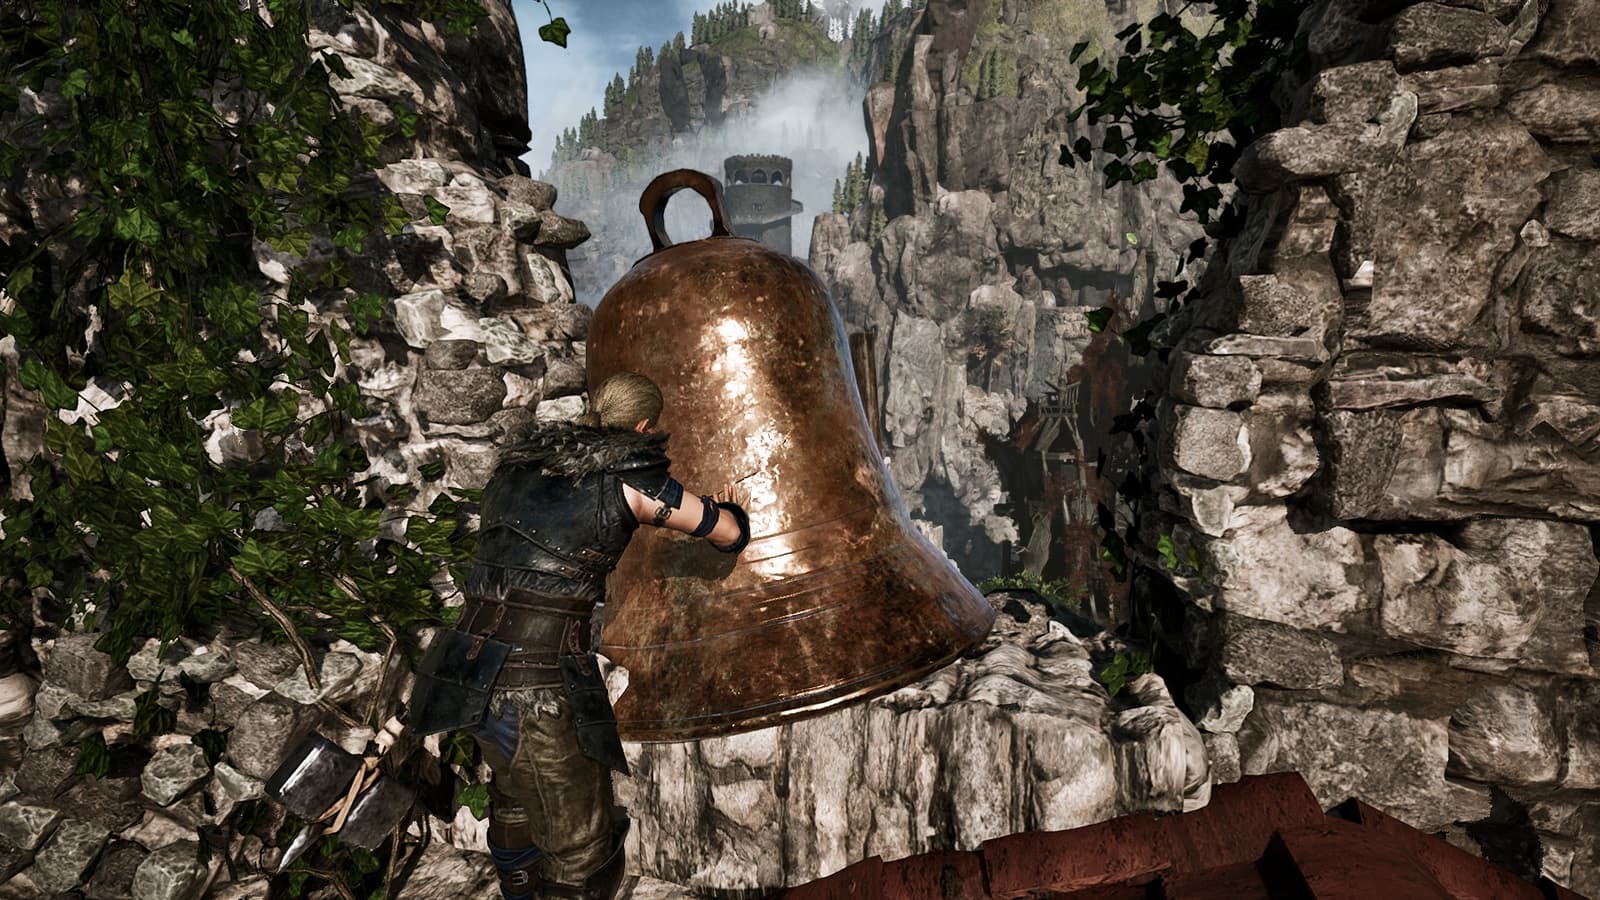
- At the first meeting with the orc Ur-Shak according to the story, in the ruins of the old castle, look for a copper bell standing on the wall. Climb onto the roof of the building next to it and throw down the giant bell, then jump into the resulting hole. Clear the room, and the fifth volume will be in it.
- To get the sixth volume, you will have to return to the room with the skeleton mage under the lighthouse. By that time, the barrier blocking the reward will disappear, and "Chromanin" will be in one of the previously closed rooms on a lectern. By the way – beware of skeletons!
Collecting Ulu-Mulu or where to find parts of the necessary animals
According to the main story, the Nameless Hero will be forced to collect the sacred orc banner "Ulu-Mulu" to gain access to the orc city. Only after receiving the quest from Ur-Shak will enhanced versions of animals appear in the Colony, which will then be used for the banner.
Here's where to find them:
- Fire lizards inhabit the beach near the ruined ships, to the right of the lighthouse. Stronger versions of them roam the wastelands, on the way to Xardas's tower. Both animal variants will provide the necessary material.
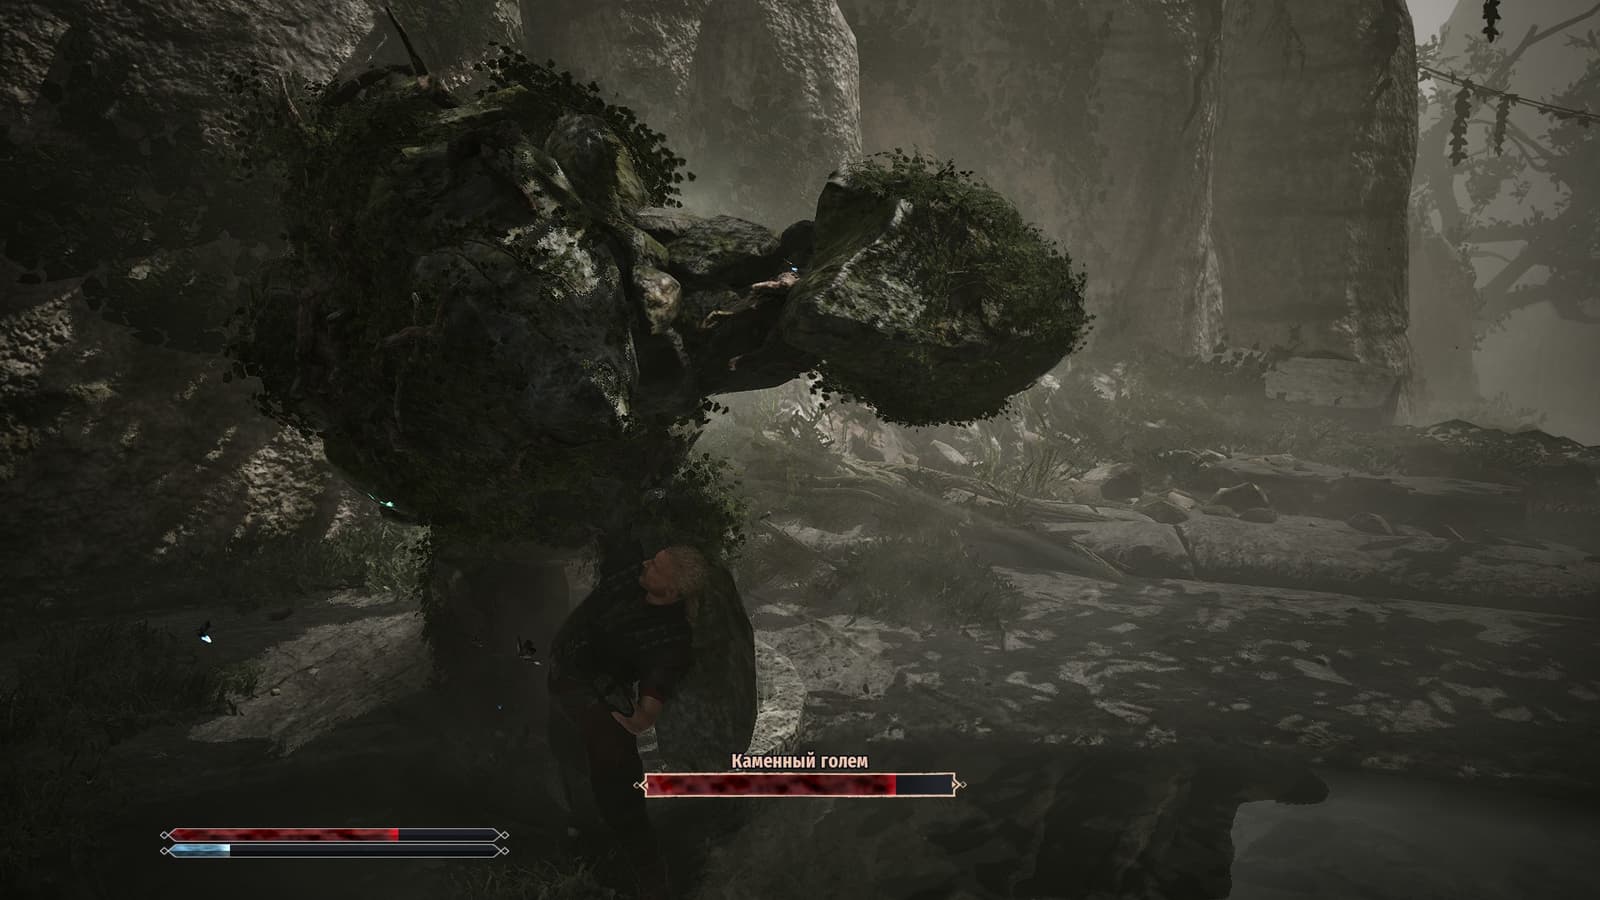
- The ancient Scavenger is in a cave near the unit that the Nameless Hero obtained with Diego – near the stone circle. Another can be found near the lake next to the Old Mine, where you first met Lester, Diego, Milten, and Gorn.
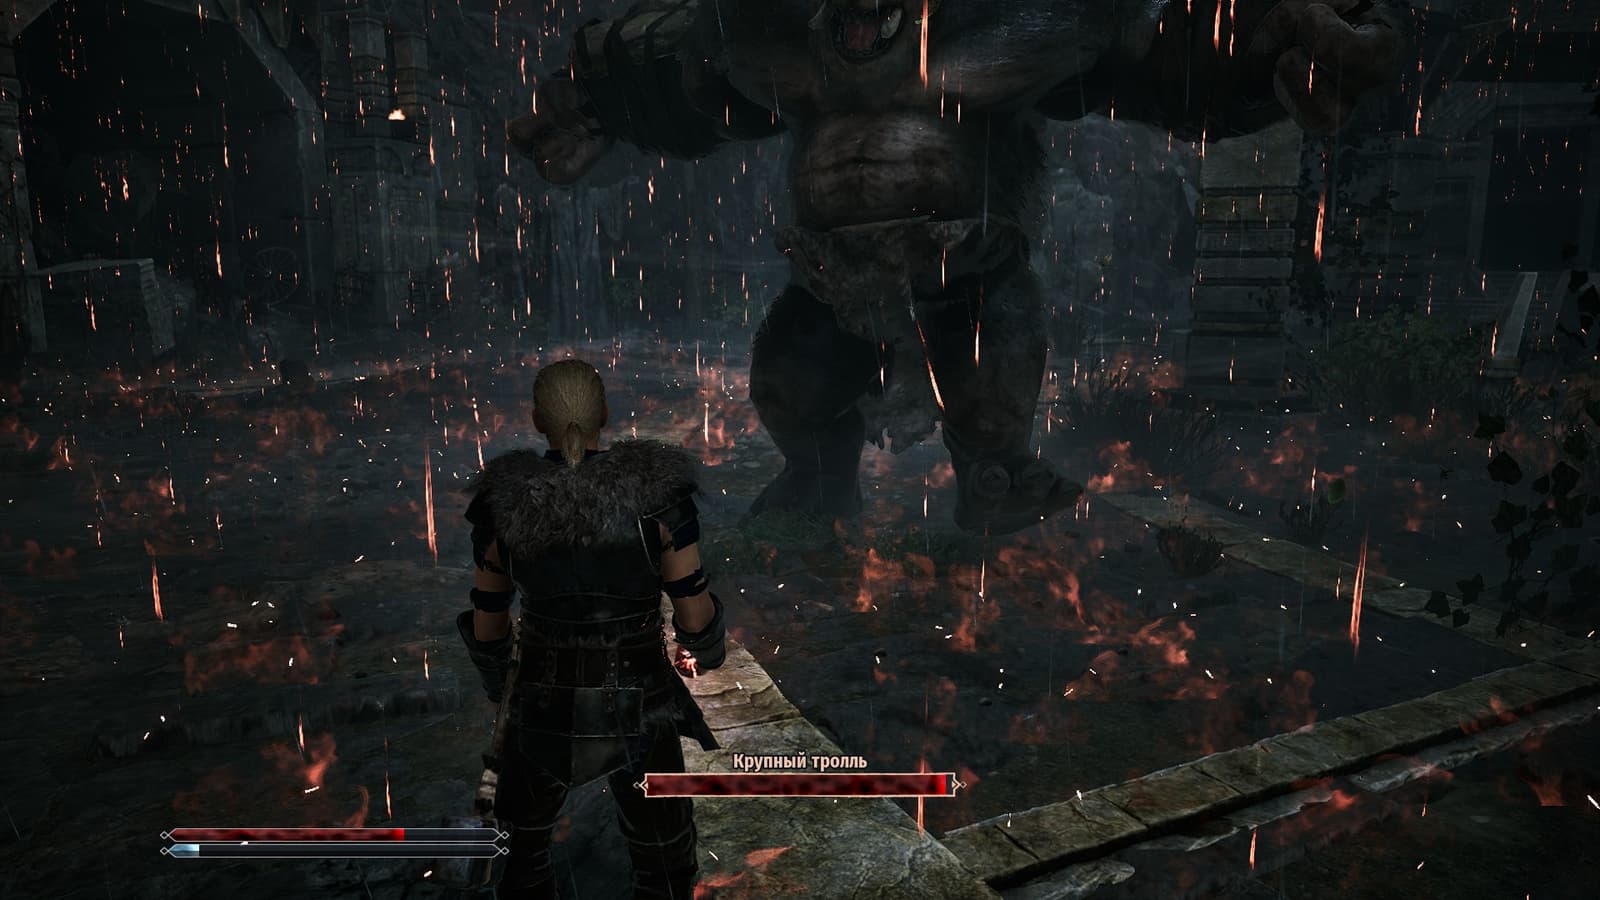
- An adult troll lives in the northern part of the Colony, where the Nameless Hero and Milten obtained a unit according to the story. As the first time, the "Shrink Monster" scroll can help you, or you can try to defeat the troll in a fair fight.
- The Swamp Lurker Mother is in the swamp, like other representatives of its kind. If you have already obtained the Swamp Camp map by this point, you will see a small island on it, in the western part of the location – the creature we need swims there, circling around this island. The Swamp Lurker is a very strong enemy, prepare for battle with it.
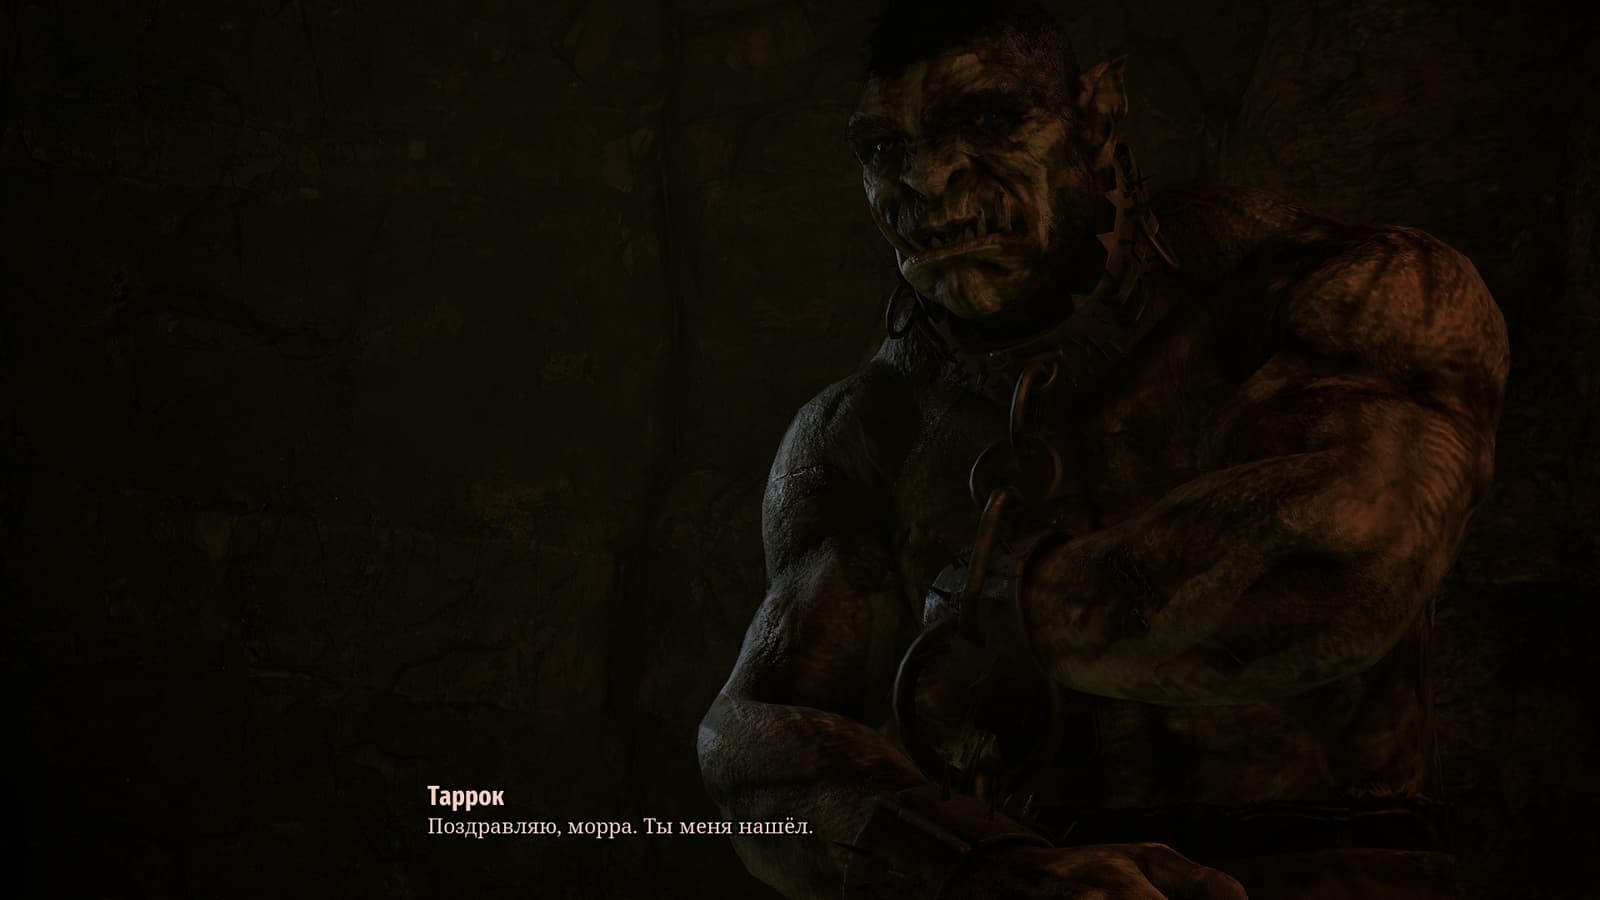
The hardest part will be finding Tarrok – the orc blacksmith who is supposed to assemble the Ulu-Mulu. This orc sits in the Free Mine, in a branch with cages, next to which an orc forge is built. Explore the mine completely and you will definitely find the right place. We will do without spoilers.
Where to find the fourth camp
In the New Camp, Lee or in the Old Camp, Thorus (depending on whose side you took) will order you to scout the fourth camp, formed by outcasts.
Its location is to the north, to the right of the path to the unit that the Nameless Hero obtained with Milten. Go up the path, enter the cave, and talk to the characters. You will receive a quest to access the camp, completing which will open the way to the leader of the outcasts.
From a mechanics and story perspective, the location is crooked and raw. I didn't touch the bandits hoping they would show themselves somehow during the story, but this doesn't happen. Therefore, you can safely turn in the quest to Lee or Thorus, and then return to the outcast mountain and slaughter everyone for experience. The main thing is not to forget to take the dexterity potion from the vault in one of the caves inside the camp.
Where to find the Temple of Innos and the Temple of Adanos
One of the Water Mages in the fourth chapter may ask the Nameless Hero to find the Temple of Innos. You will also need to go there because of the last "Bestiary," which was in Xardas's tower – after reading it, Cavalorn will ask you to kill the mythical white Scavenger.
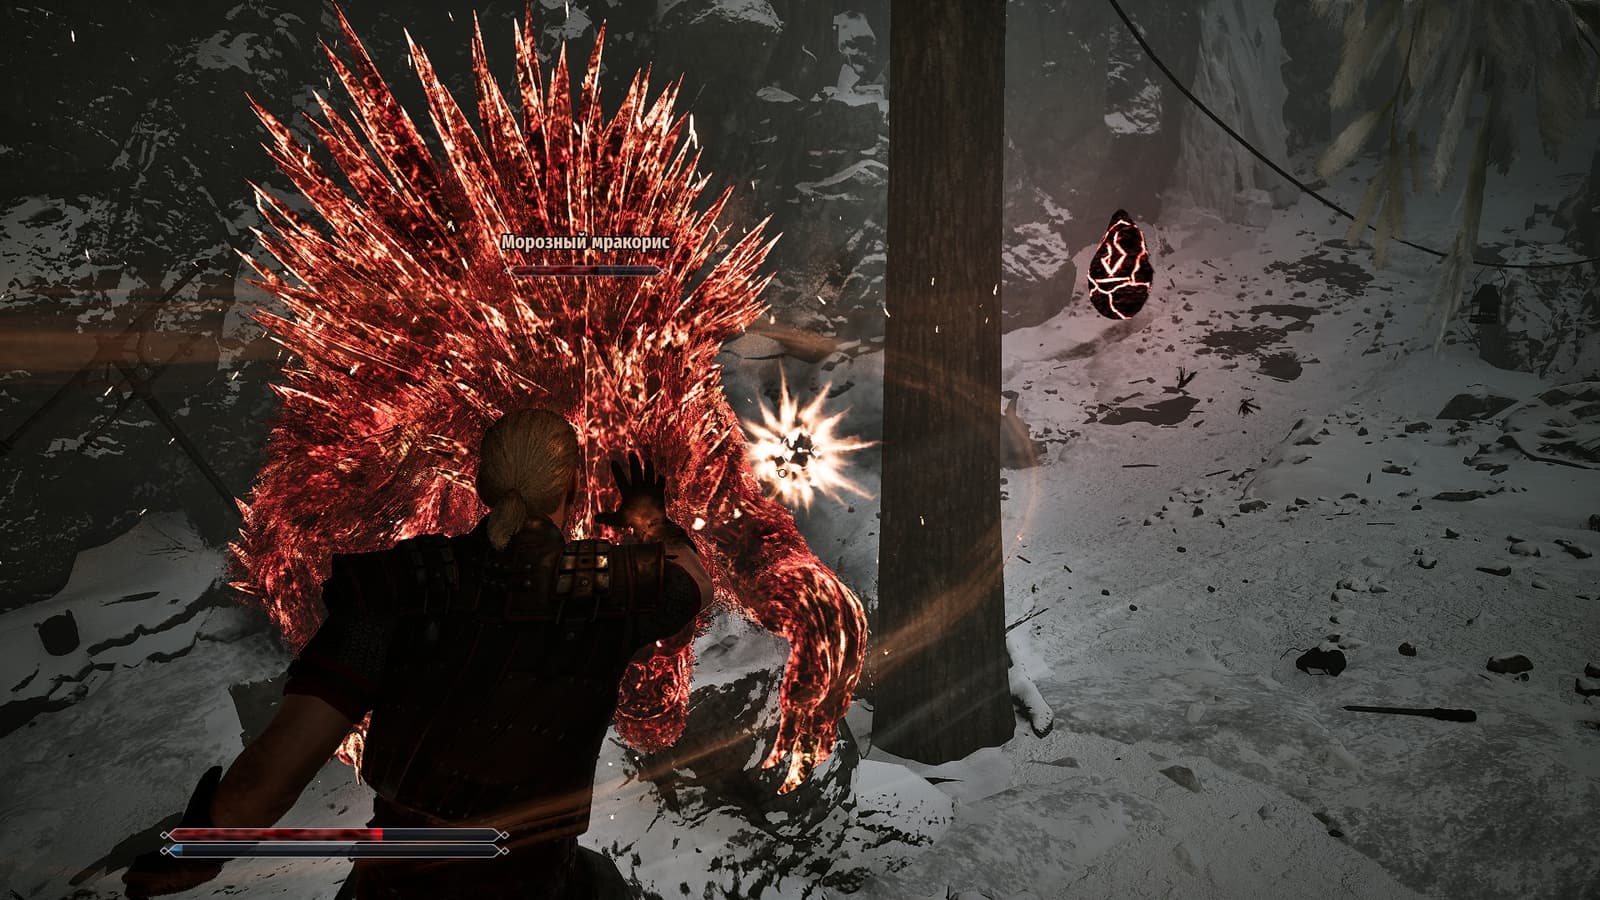
The passage to the temple is to the left of the Old Mine – between the path to the lake and the miners' houses. It's a huge hole in the mountain, which you need to climb using the skill. Inside, kill the goblins and start climbing further up the walls until you reach a suspension bridge over the lake. Crawl further up until you find yourself in a snowy area. You will recognize it by the white tundra wolves living there. A little further from them, by the way, is a cave with good loot.
Before entering the temple, you need to kill a white-skinned Scavenger – I easily managed this thanks to the "Fire Arrow" spell. After that, dive into the water and swim behind the waterfall, where the location we need is. Inside are many skeletons, one skeleton mage, and several chests. One of them contains the book needed by the Water Mages. Fight your way through the skeletons to the top, to the temple roof, and go further – there you will see an orc corpse. Collect the Amulet of Innos from him to then show it to the Water Mages. There are no more valuables in the temple area.
To join the Circle of Water Mages, you will be asked to find and pass a trial inside the Temple of Adanos.
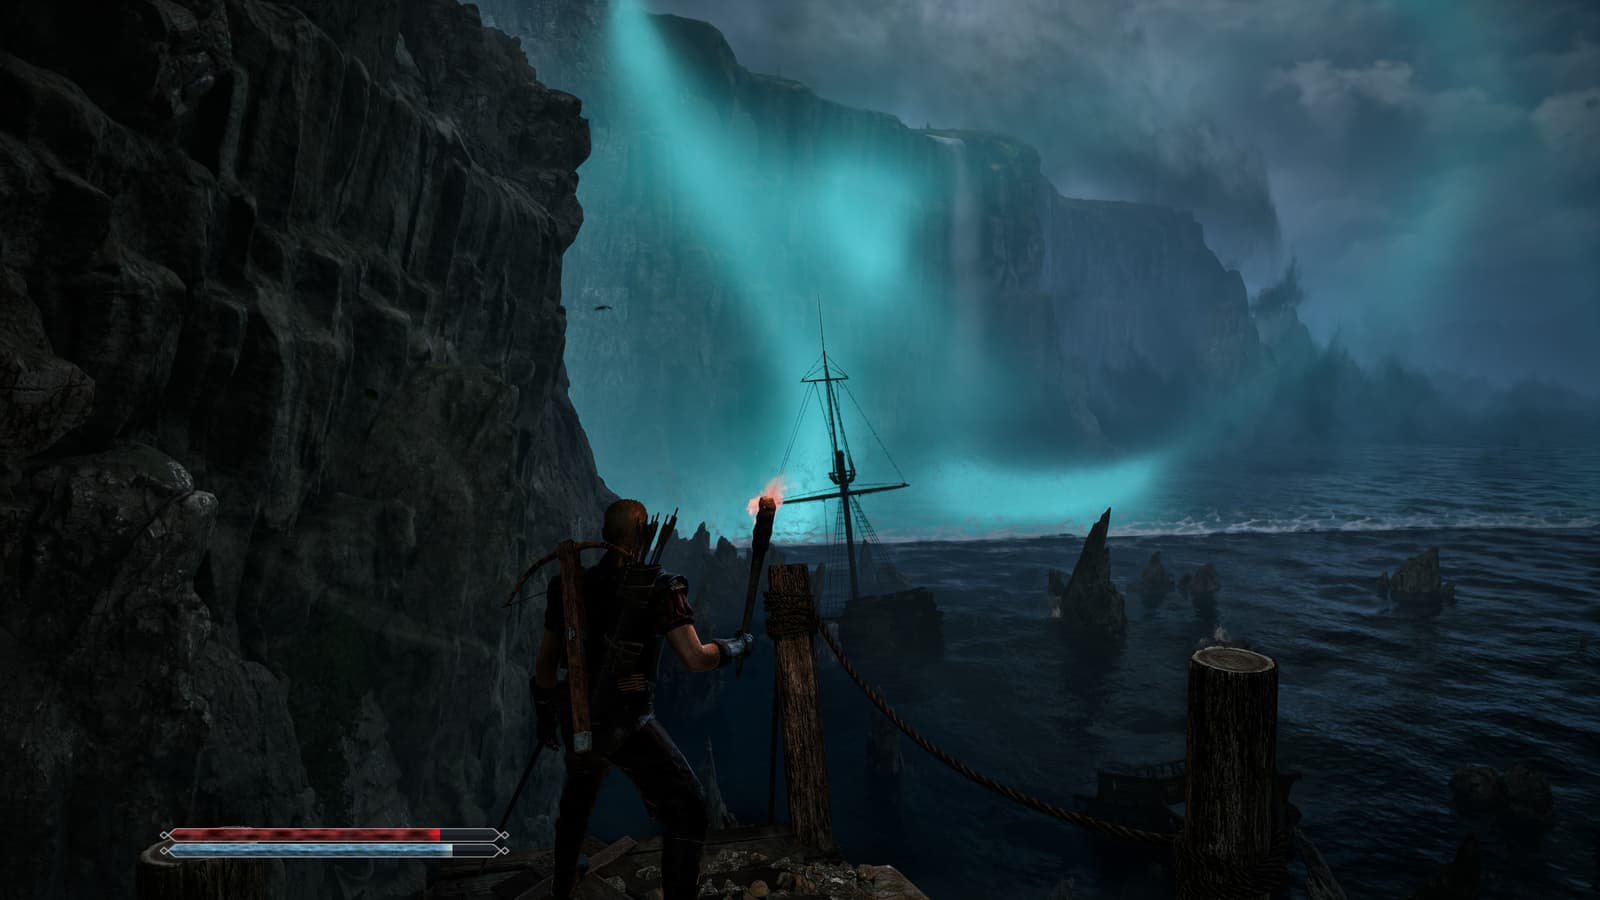
It's easy to find: from the lighthouse, go to the beach with fire lizards and get into the water. You need to swim past the sunken ships until you see partially submerged pieces of the former temple and similar ship remains in one of the mountains, right next to the Barrier. Swim inside, and if you haven't leveled up your breath-holding, be as quick as possible – you'll have to swim underwater for a very long time.
Inside, you need to solve a simple puzzle to get permission to become a Water Mage.
How to get to Xardas's tower quarters or fly over the ruined bridge in the ore baron's castle
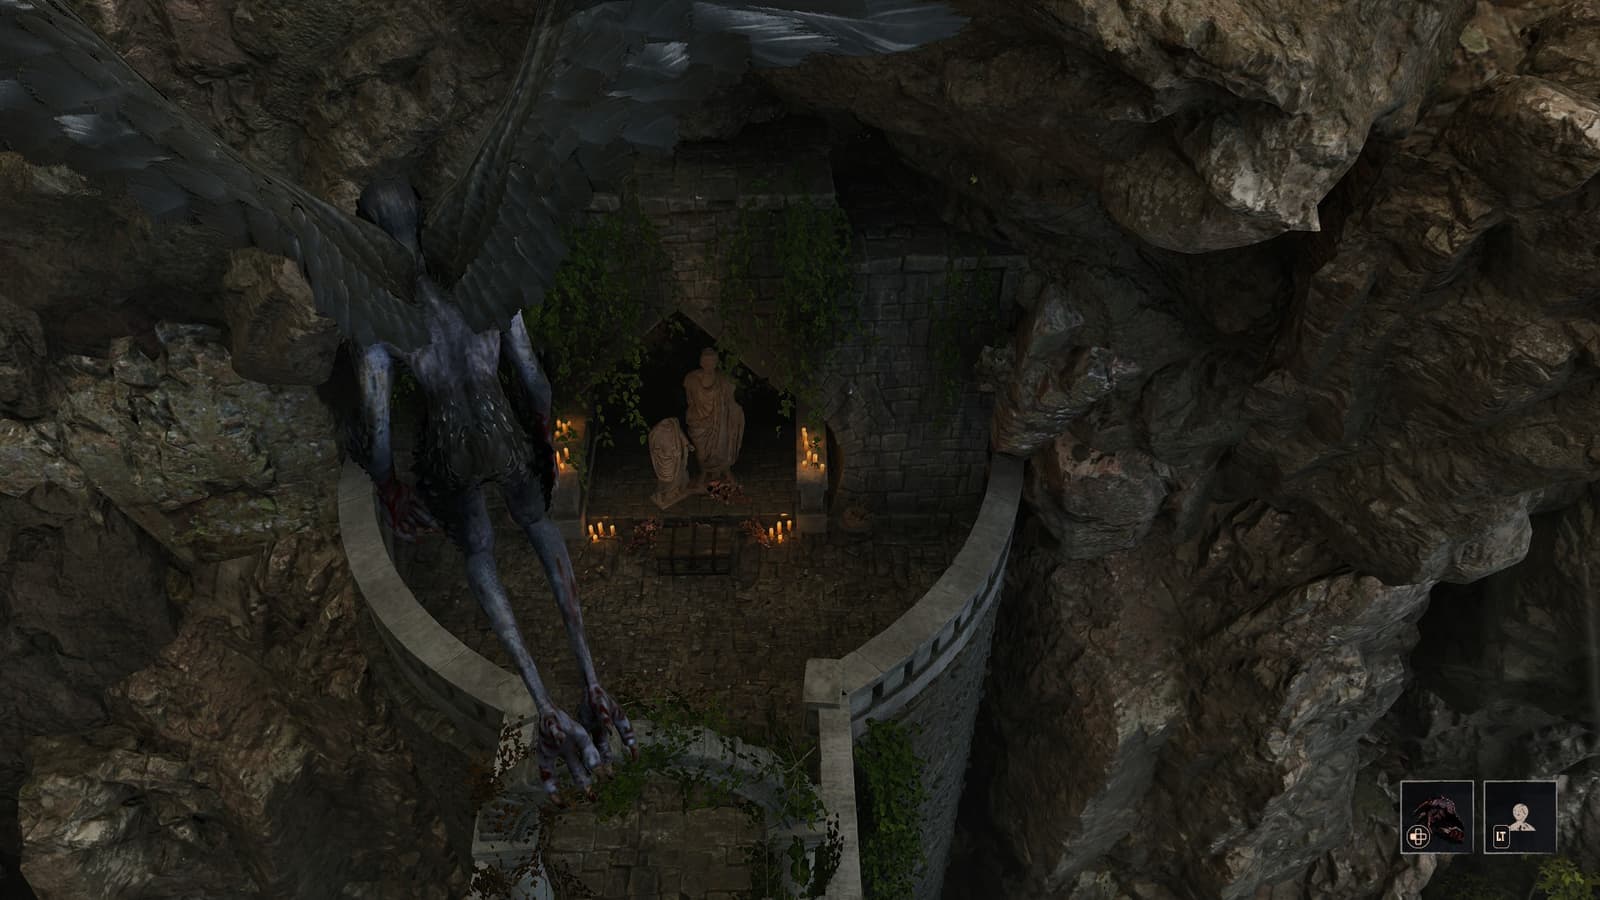
Towards the end of the game, you can buy harpy transformation scrolls from Idol Kadar or the Water Mages, as well as instructions for creating these scrolls.
In harpy form, you can not only fly quickly around the Colony in search of missed victims and secrets, but also fly as high as possible. Thus, the Nameless Hero will be able to visit two previously inaccessible places:
- In the ore baron's castle, fly over the ruined bridge and take a +4 strength and dexterity potion from the chest.
- Use the scroll near Xardas's tower and fly to the very top – Xardas's quarters are there. If you wander around them and take everything that's not nailed down (you can even sleep there for a change) – you'll get an achievement.
What then?
Having completed worldly affairs, you can go to the Sleeper's temple and become a nightmare for Beliar's avatar, who decided to return to Myrtana. After all the upgrades you've collected, thanks to this guide, the demon will have nothing to oppose the Nameless Hero.
Комментарии